
Gua sha, also known as jade scraping, is the latest beauty practice that’s found its way onto TikTok’s beauty space. Tons of users are lauding its contouring power. But there’s a lot more to know about the traditional Chinese medicine practice, which is not as simple as rubbing on a serum or using a jade roller and, instead, has a very rich history. Before you buy your first tool and jump in blindly, read on for everything to know about gua sha, and the best techniques to use when you practice.
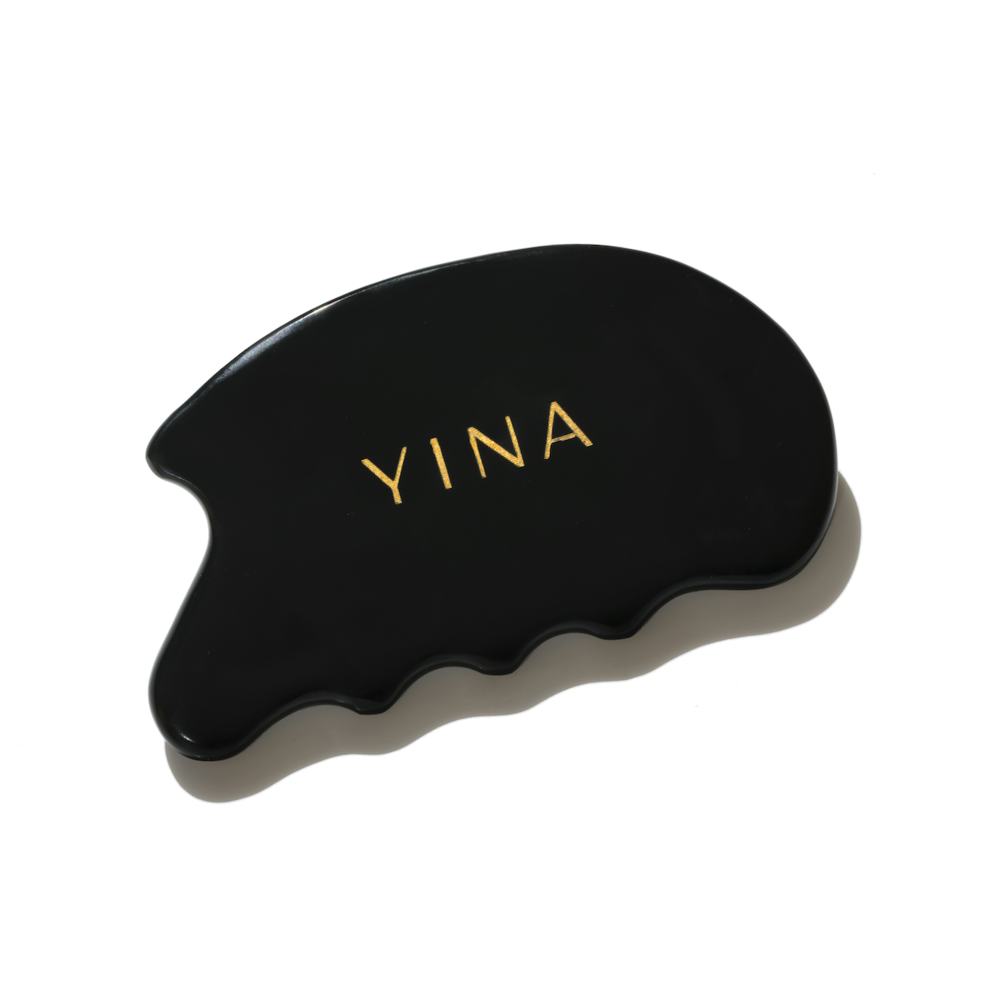
Gua sha began as a way to alleviate symptoms of disease. It was first documented in major medical records through the Ming Dynasty (1368 to 1644), although it’s presumed to date back much, much further in time. Since then, gua sha has remained a staple in traditional Chinese medicine through modern times. "Gua means ‘scrape’ and Sha means ‘petechiae’ (tiny, flat red, purple spots)," Dr. Ervina Wu, a certified Traditional Chinese Medicine (TCM) dermatologist and co-founder of YINA, tells Elite Daily. "The idea is to scrape the skin (commonly on the upper back) to invigorate blood flow, release heat-toxins, stimulate lymphatic drainage, activate various points of the body, and stimulate an immune response, bringing helpful cells to the area."
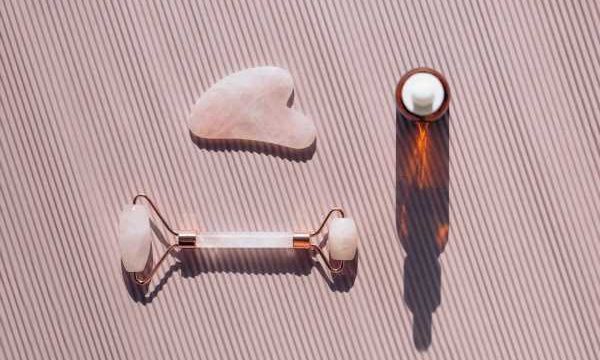
Gua sha’s use in the beauty world took off in the 21st century, and it seems to become a quick favorite of everyone who tries it. Beyond being incredibly calming, Dr. Wu notes that it keeps your skin oxygenated, and helps turn over dead cells to make your skin feel and look more radiant. Now that the holistic practice is likely showing up on your feed more and more, you’re probably ready to dive in yourself. Elite Daily tapped gua sha experts to determine the best techniques to try gua sha at home.
Gua Sha Step One: Priming The Skin
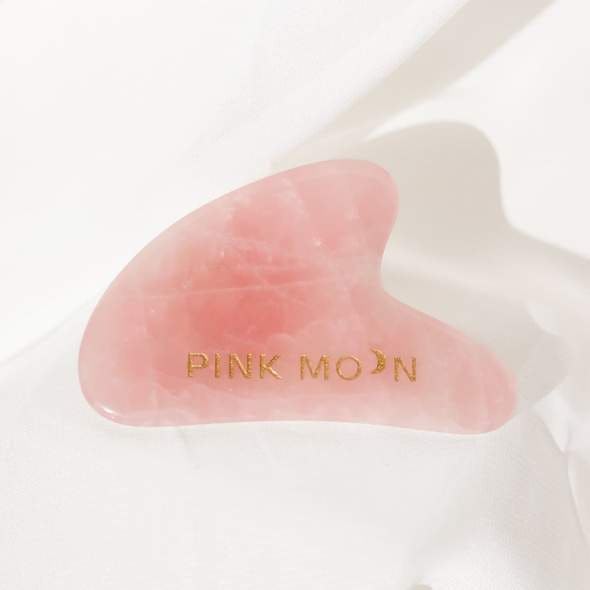
The best way to start any beauty routine is with a fresh, clean face, but Lin Chen, the founder of Pink Moon, recommends applying a mist, oil, or serum gently over your skin first. "Pat in your oil and massage in gentle upward and outward motions," she tells Elite Daily. "It’s important to use an oil that’s emollient and has a slippery texture so that your gua sha tool glides easily on the skin." This base, according to Chen, is perfect to soothe your skin and prevent any tugging as you get into the massage.
We only include products that have been independently selected by Elite Daily’s editorial team. However, we may receive a portion of sales if you purchase a product through a link in this article.
Gua Sha Step Two: Picking Your Tools
There are lots of different stones you can use when practicing gua sha, especially between your face and body. Chen’s favorites are the Pink Moon Rose Quartz Gua Sha Tool ($35, Pink Moon) for her face and YINA’s Bian Stone Tool ($50, YINA) for her body. "This tool is heavy duty and a bit more advanced than our tool. Using it on my back, shoulders, chest and legs is like getting a professional massage," she says.
Gua Sha Step Three: How To Press Your Skin
"There are many TCM organ channels that run through the face and head. It is important to perform facial Gua Sha in an upward, lateral direction," Dr. Wu says. "Imagine sculpting and lifting your face. Don’t forget to guide your Bian stone over your scalp." She also suggests you use a light pressure for your face to avoid any irritation.
Dr. Yvonne Cheng, a licensed doctor of TCM, tells Elite Daily to start with your face stone at your neck and sweep downward from under the ears to the collarbone with a light pressure. Then, using the V-shaped part of your tool, guide your scraper to the middle of your chin before dragging it over to your earlobe. Gently wiggle the tool at your earlobe, Dr. Cheng says, "to encourage lymphatic drainage." Keeping your tool at a 15 degree angle and as flush to your skin as possible, start at the corner of your mouth and sweep up toward your cheekbone and outer hairline. Continuing up your face, begin your next stroke beside your nostril before pressing in up and under your cheekbones to your hairline. Next, Dr. Cheng encourages a very light pressure to sweep from the inner corer of your eye to your temple. For this part of your face, the pointed end of your tool works better to get deeper into the delicate skin.
Following your eyes, you can use the wider side of your gua sha tool to press over your eyebrows to you hairline. Then, Dr. Cheng says to sweep from the middle of the forehead toward your temples and all the way down your neck to the clavicle. "Always finish by draining the neck in downward strokes, otherwise you will leave your face more puffy than it was to start," Dr. Cheng recommends. "The neck is the gateway to the face and in order for anything to exit the face, it must go through the neck, before the next step in the elimination process of toxins."
Each of these strokes can be repeated up to 10 times, but Dr. Cheng warns that any more than that can cause dizziness or flu-like symptoms. The best way to experience the full de-puffing, lymphatic drainage, and contouring benefits is to complete each step on both sides of your face before moving onto the next one.
https://www.instagram.com/p/CN7z1Xsn4aj/
https://www.instagram.com/p/CN7z1Xsn4aj/
Gua Sha Step Four: Treating Your Skin After
After this process, you’re bound to feel super relaxed, but possibly a bit tired, similar to how you feel after a massage. Although your skin may be a bit flushed and pink, Dr. Wu says that’s normal. "We recommend allowing your skin to naturally normalize. Be sure to drink a cup of room temperature or warm water to complete your ritual," she says. So, take a few minutes to sit, relax, and let the calm of gua sha’s meditative massage rest over you.
Source: Read Full Article